We use cookies to make your experience better. To comply with the new e-Privacy directive, we need to ask for your consent to set the cookies. Learn more.

Pfaff See-Through Applique Foot
This video shows an example on how to use the Pfaff Clear Applique Foot. When your ready select another video tutorial, demo or how-to sewing machine feet and accessories video from the list below.
Want to find more detailed information about this item...
Click to view
Pfaff Clear Applique Foot product details.
Video description:
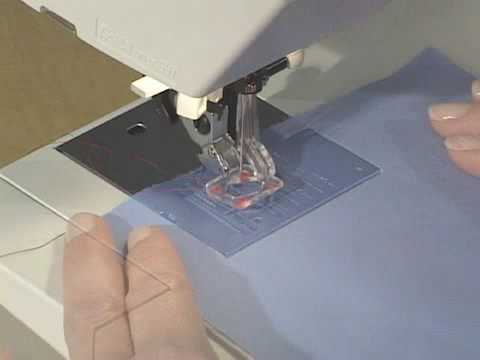
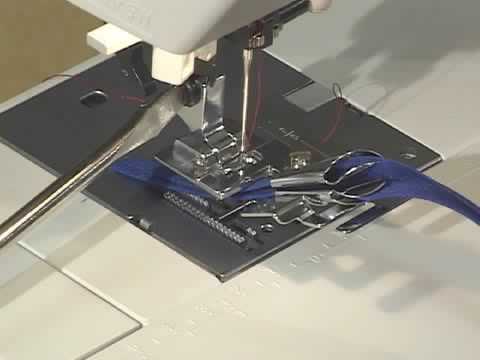
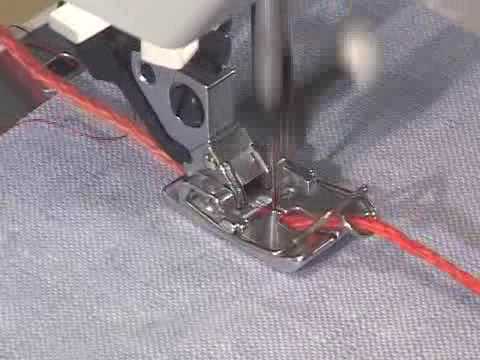
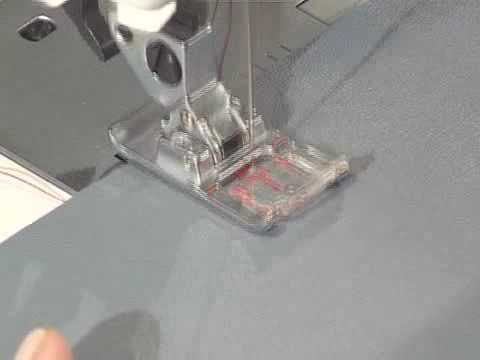
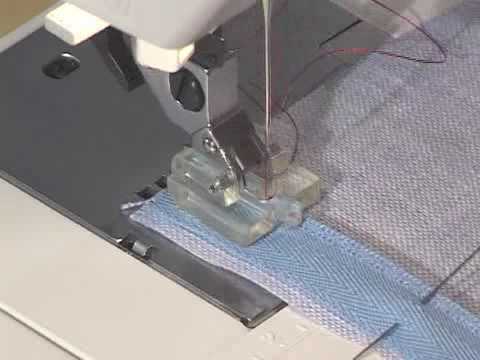
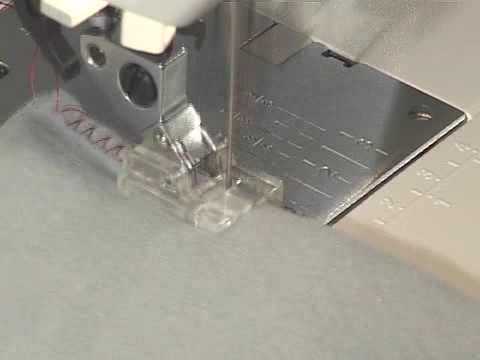
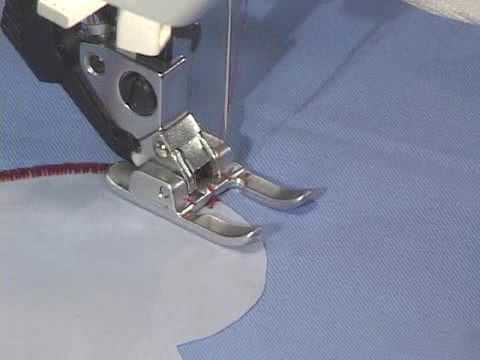
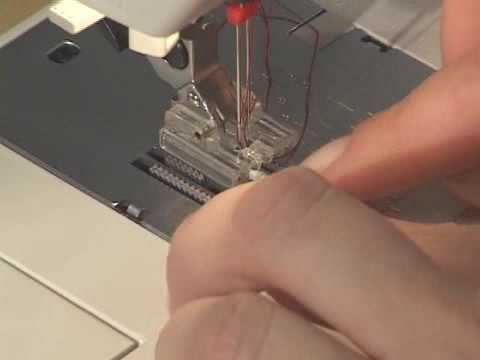
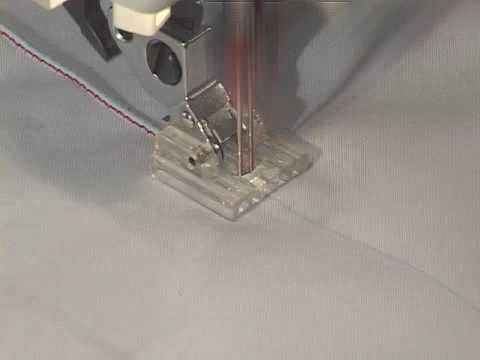
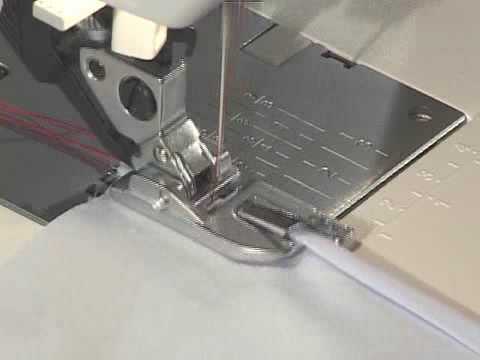
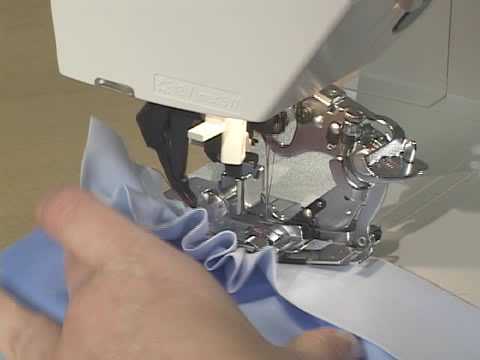
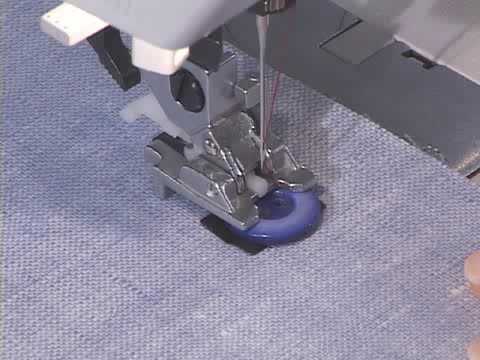
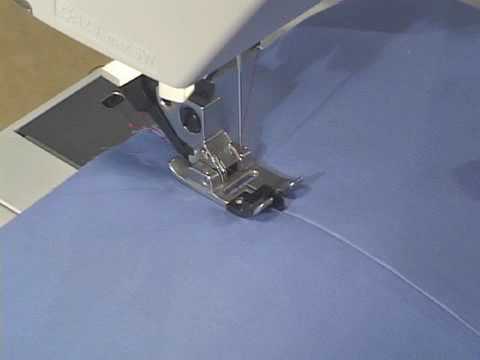
For best applique sewing results follow the steps below.
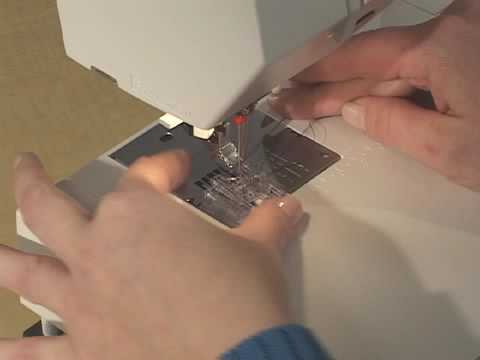
Select zigzag stitch with very short stitch length 0.30 to 1, width of 1.5 - 4.0. Loosen tension to about 3.
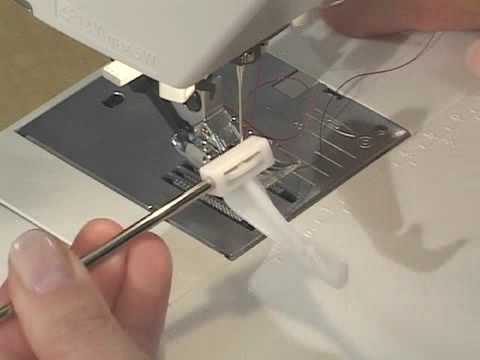
Transfer pattern to paper side of fusible backing. Mirror all letters or numbers.
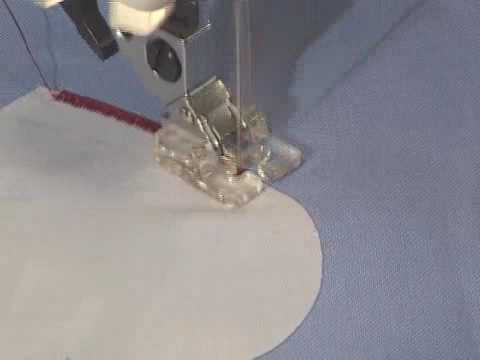
Iron fusible backing onto applique material, cut out designs and remove paper. Position applique pieces and iron onto base fabric.
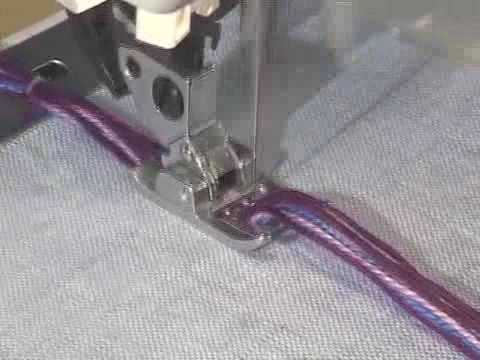
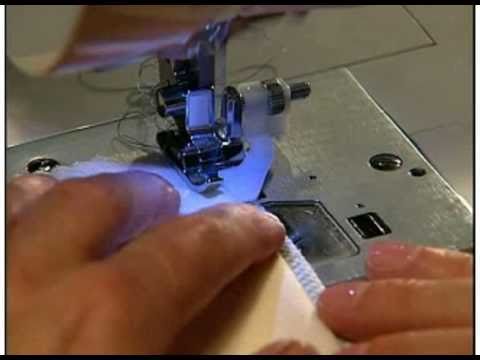
Place stabilizer under applique area. Overstitch all edges to prevent fraying. Use
needle down button for smooth corners and curves.
Stitch: Zigzag
Stitch length: 0.35 to 1
Stitch width: 1.5 - 4.0
Tension: 2 - 3
Get Product Details
Select zigzag stitch with very short stitch length 0.30 to 1, width of 1.5 - 4.0. Loosen tension to about 3.
Transfer pattern to paper side of fusible backing. Mirror all letters or numbers.
Iron fusible backing onto applique material, cut out designs and remove paper. Position applique pieces and iron onto base fabric.
Place stabilizer under applique area. Overstitch all edges to prevent fraying. Use
needle down button for smooth corners and curves.
Stitch: Zigzag
Stitch length: 0.35 to 1
Stitch width: 1.5 - 4.0
Tension: 2 - 3
Get Product Details
Share this video on your website, forum, blog or facebook..?