We use cookies to make your experience better. To comply with the new e-Privacy directive, we need to ask for your consent to set the cookies. Learn more.

Pfaff Free-Motion Open Toe Quilting Foot
This video shows an example on how to use the Pfaff Free-Motion Open Toe Quilting Foot. When your ready select another video tutorial, demo or how-to sewing machine feet and accessories video from the list below.
Want to find more detailed information about this item...
Click to view
Pfaff Free-Motion Open Toe Quilting Foot product details.
Video description:
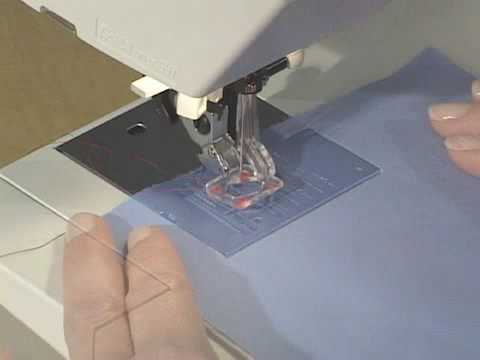
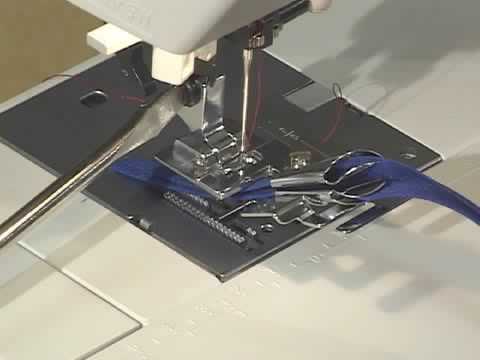
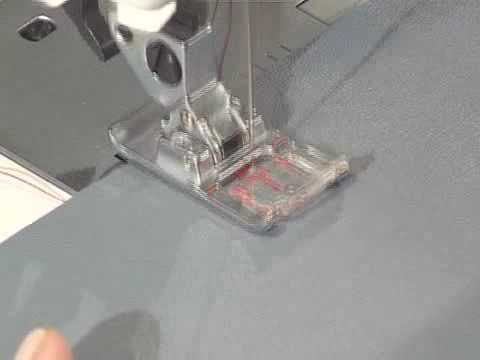
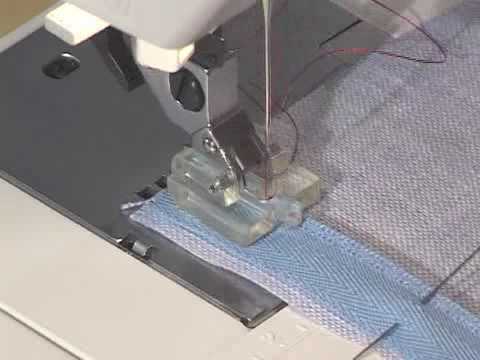
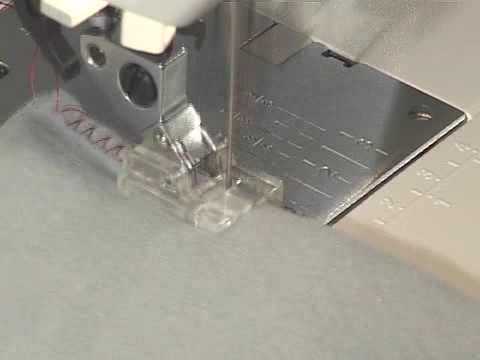
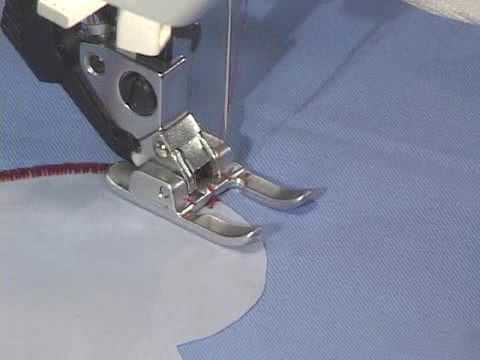
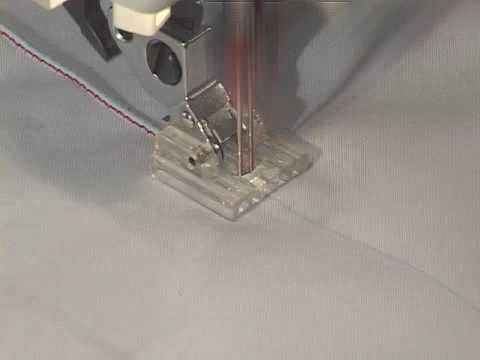
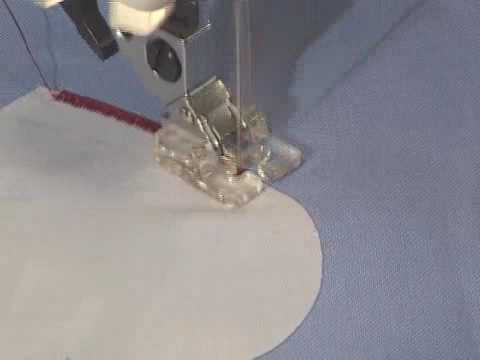
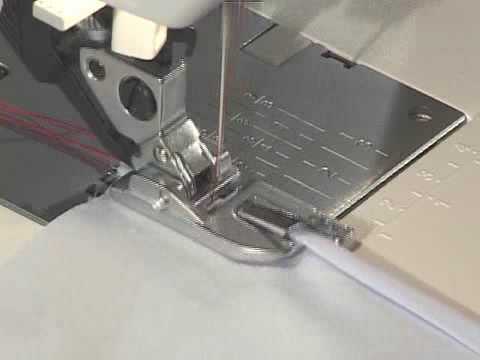
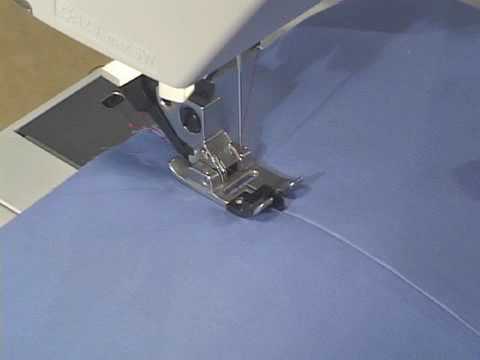
The video shows the regular free-motion embroidery foot is for wonderful free-motion sewing and quilting. This foot has now been replaced with an open-toe type which has an extra-large opening cut out in the front to give you an optimal view of your free-motion sewing and quilting.
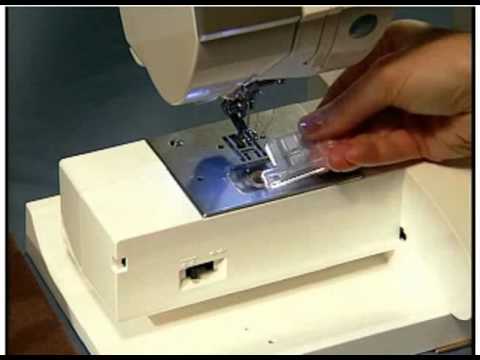
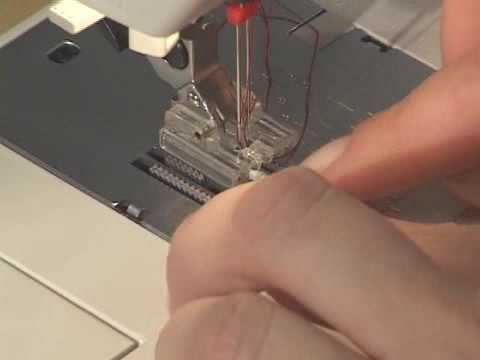
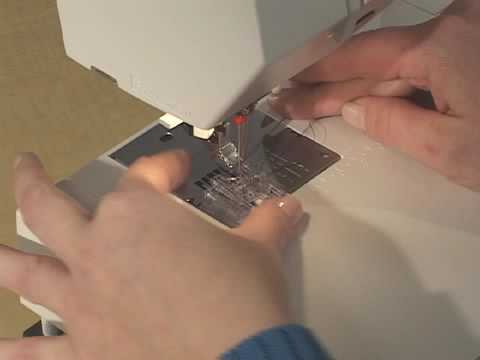
1. Disengage the IDT.
2. Carefully loosen the small silver screw on the back of the presser foot holder until the crosshole is accessible.
3. Squeeze the presser foot gently together and guide the pin of the foot into the crosshole of the presser foot holder as far as it will go. Make sure the clear arm is above the needle clamp.
4. Tighten the silver screw.
5. Lower the Open-Toe Free-motion Foot into the free-motion/ darning position by either selecting the free-motion icon on the touch screen of your machine or manually setting the presser foot lifter in the free-motion position.
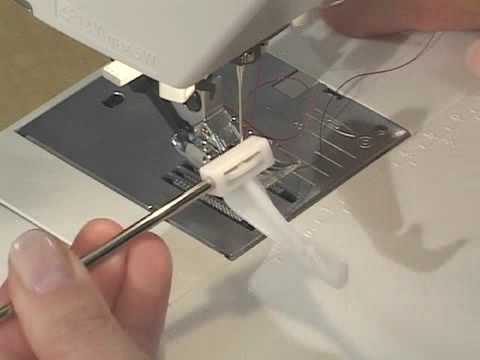
6. Lower the feed dogs.
7. Select a straight stitch or a zigzag stitch.
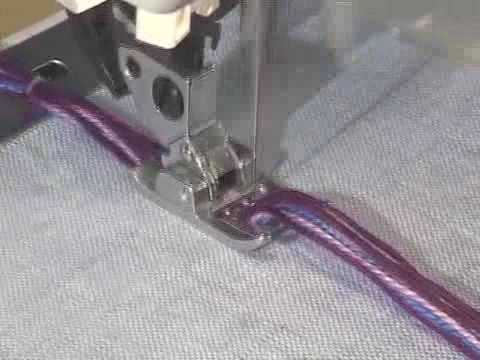
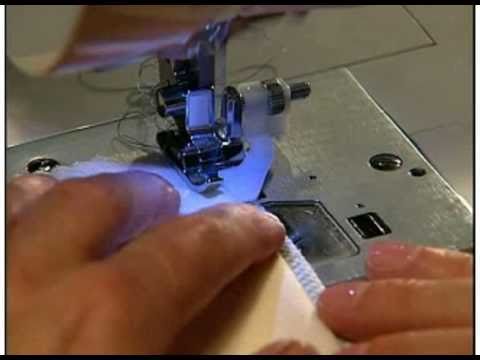
8. Keeping an even speed, manually move your fabric.
Remember, because the feed dogs are lowered, you must move the fabric manually. For even stitches, move your fabric in a smooth, even motion.
Get Product Details
1. Disengage the IDT.
2. Carefully loosen the small silver screw on the back of the presser foot holder until the crosshole is accessible.
3. Squeeze the presser foot gently together and guide the pin of the foot into the crosshole of the presser foot holder as far as it will go. Make sure the clear arm is above the needle clamp.
4. Tighten the silver screw.
5. Lower the Open-Toe Free-motion Foot into the free-motion/ darning position by either selecting the free-motion icon on the touch screen of your machine or manually setting the presser foot lifter in the free-motion position.
6. Lower the feed dogs.
7. Select a straight stitch or a zigzag stitch.
8. Keeping an even speed, manually move your fabric.
Remember, because the feed dogs are lowered, you must move the fabric manually. For even stitches, move your fabric in a smooth, even motion.
Get Product Details
Share this video on your website, forum, blog or facebook..?